Technique
Watercolor Techniques
The core moves of watercolor: wet-on-wet and graded washes, glazing in transparent layers, dry brush texture, and how to fix mud, hard edges and blooms.
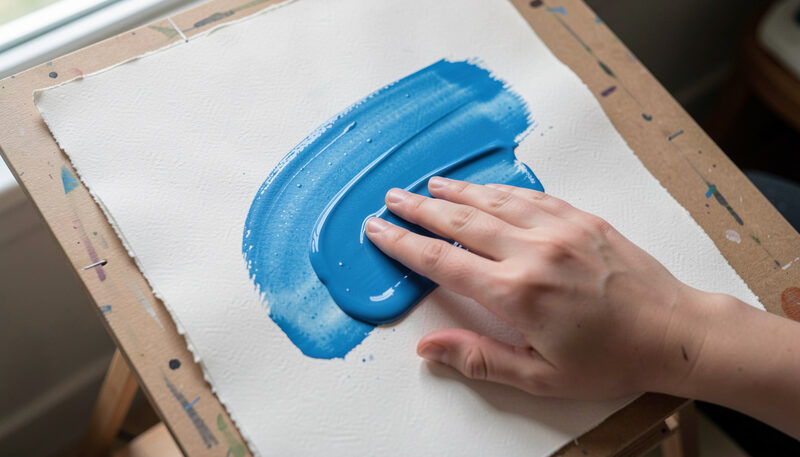
Watercolor behaves unlike any other paint. It is transparent, it dries lighter than it looks when wet, and it keeps moving on the paper for as long as the surface is damp. Most of the skill in watercolor is not drawing ability but timing: knowing when the paper is too wet, just right, or already dry. This section collects the core techniques, from a first flat wash to glazing and dry brush, and the repairs for the faults that appear when the water and the pigment disagree.
How water, pigment and paper decide the result
Three things control every mark. The amount of water in the brush sets how far the pigment spreads. The amount of water already in the paper sets how much the new paint can move once it lands. The paper itself, its fiber, its sizing and its surface, sets how long that window stays open. A wash on a heavily sized hot press sheet behaves differently from the same wash on an absorbent rough cotton sheet, even with the same brush and the same paint.
Painters who struggle often blame their pigment when the real variable is the water. A brush that is too wet will flood the paper and dry with a hard rim. A brush that is too dry will drag and leave streaks. Learning to load and to unload a brush, and to feel the dampness of the paper with the back of the hand, matters more than buying another color.
The washes every painter needs
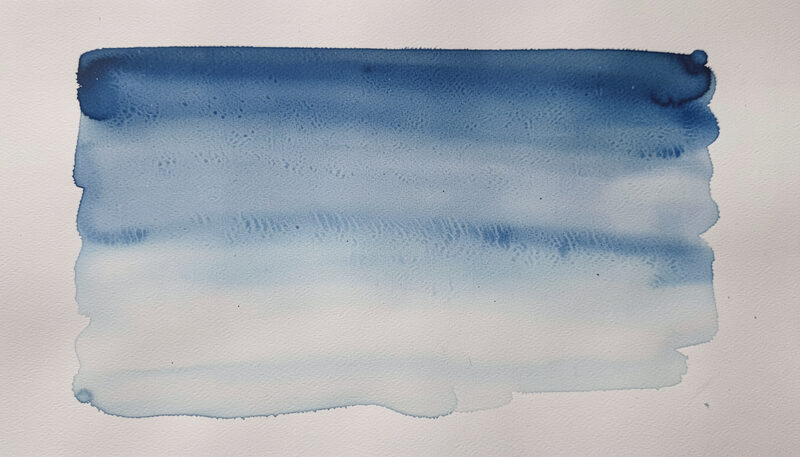
A flat wash covers an area with one even tone. A graded wash moves from dark to light across the page, which is how most skies are built. A wet-on-wet wash drops pigment into damp paper so the color blooms and spreads on its own, which is how soft cloud and distant foliage appear. These three cover a surprising amount of a landscape. They are explained step by step in the guide to wet-on-wet washes and graded skies.
Glazing and layering
Because watercolor is transparent, a new layer laid over a dry one shows the layer beneath. That is glazing, and it is how depth is built without mixing mud on the palette. Each glaze must be fully dry and must be applied with a light touch, so the layer below is not lifted. The order of the layers matters: warm under cool, or the reverse, changes the final color. The full method is in the guide to glazing and layering.
Dry brush and texture
When the paper is dry and the brush is barely moist, the paint catches only the top of the grain. That is dry brush, and it is the tool for bark, weathered wood, dry grass and the sparkle of a rough stone. It is the opposite of a wash: instead of letting the water move the paint, the painter controls every stroke. Used at the end of a painting, it adds texture that a wet wash cannot.
Timing is the real technique
Almost every watercolor decision is a question of timing. A cloud edge stays soft if it is lifted while the wash is damp and turns hard if it is left too long. A second color dropped into a wet wash blends; dropped into a dry one, it sits as a separate shape. A painter learns to work across the whole sheet rather than in one corner, so that each area is touched at the right moment. This is why watercolor rewards planning and punishes hesitation.
When something goes wrong
Muddy color, hard edges, backruns and overworked paper are the usual faults, and each has a cause and a repair. Mud usually comes from mixing too many colors on the paper or from an opaque pigment laid over a transparent one. A backrun comes from adding wet paint to a drying area. Most of these can be prevented, and a few can be fixed. The troubleshooting guide takes them one at a time.
Practicing technique without a subject
Technique is learned fastest on abstract exercises, not on finished pictures. A page of flat washes, graded washes, soft and hard edges, and short dry-brush strokes, repeated until each is reliable, builds control more quickly than painting a scene in which everything is attempted at once. Exercises are cheap to make, they use scraps of paper, and they isolate the one variable being learned. A painter who spends twenty minutes on exercises before each session will find the real painting much easier, because the hand already knows what the wash is going to do.
Reading a painting to learn from it
When looking at a watercolor that works, look for the decisions rather than the subject. Where is the lightest paper left untouched? Which edges are hard and which are soft, and why? Where has a wash been glazed and where has a color been mixed? Which areas are painted in one confident pass and which are built slowly? Reading a painting this way, with these questions in mind, turns every good picture into a lesson, and it is a habit that costs nothing and teaches a great deal.
Where to begin
A beginner does not need many materials to practice technique. One good sheet of cotton paper, one round brush of decent size and three pigments are enough to learn washes, glazing and dry brush. The materials section explains what to look for in paper, brushes and paint, and the subject guides show how the techniques come together when a sky, a stretch of water or a group of trees is painted from observation.
Technique
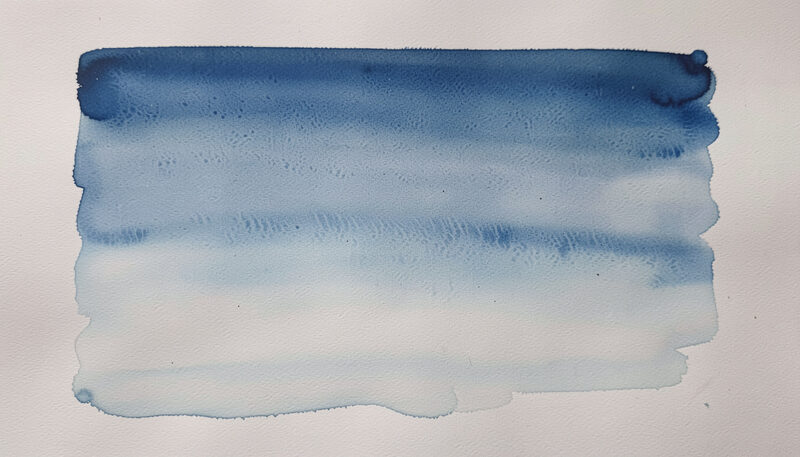
Wet-on-Wet Washes
How to lay a flat wash, a graded wash and a wet-on-wet sky: water-to-pigment ratio, board tilt, brush loading and the timing that decides the result.
Flat, graded and wet-on-wet, one wash at a time.
Technique
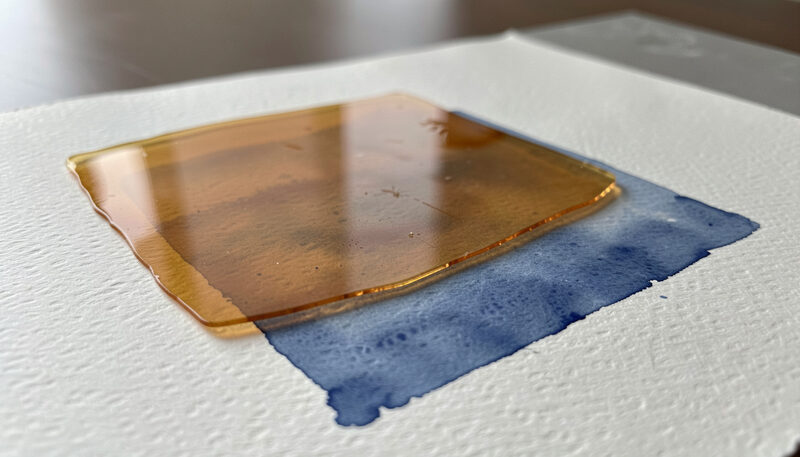
Glazing and Layering
Glazing builds depth with transparent layers: how to let each wash dry, keep colors clean, plan the order of layers and avoid mud when colors overlap.
Transparent layers, built from light to dark.
Technique
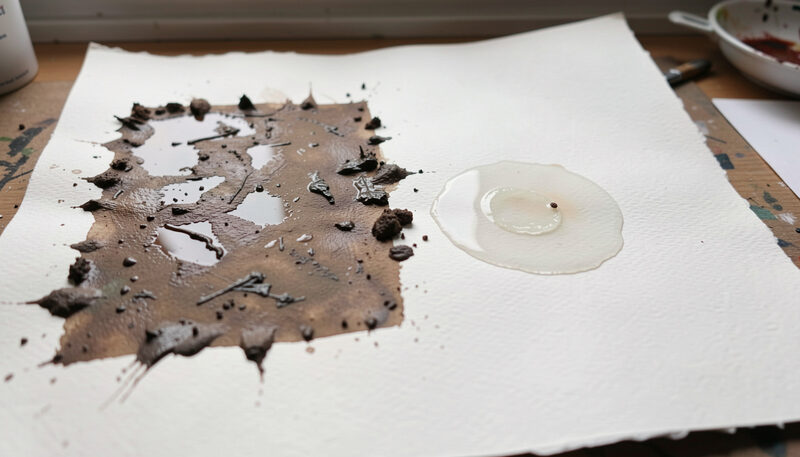
Troubleshooting Watercolor
Fix the common watercolor faults: muddy color, hard edges, backruns and blooms, overworked paper, and paint that dries lighter than it looked.
Mud, hard edges and blooms: the cause and the cure.
Technique
A Ten-Minute Daily Watercolor Drill
A ten-minute daily watercolor drill that trains accuracy before speed: one repeated wash, warm-up strokes, and a desk set so brush, board and eye sit right.